Month: August 2024

Zesty Lemon Blueberry Bread: A Burst of Sweetness in Every Bite

Zesty Lemon Blueberry Bread: A Burst of Sweetness in Every Bite

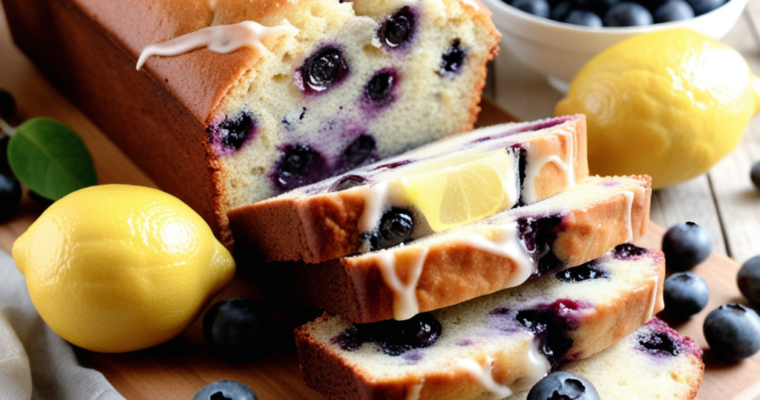
A zesty and sweet Lemon Blueberry Sweet Bread that’s perfect for breakfast or as a delightful snack. This easy-to-make bread is bursting with fresh blueberries and a hint of lemon, giving it a refreshing flavor that’s hard to resist. Imagine waking up to the aroma 

Easy Homemade Vanilla Pudding Recipe

Easy Homemade Vanilla Pudding Recipe

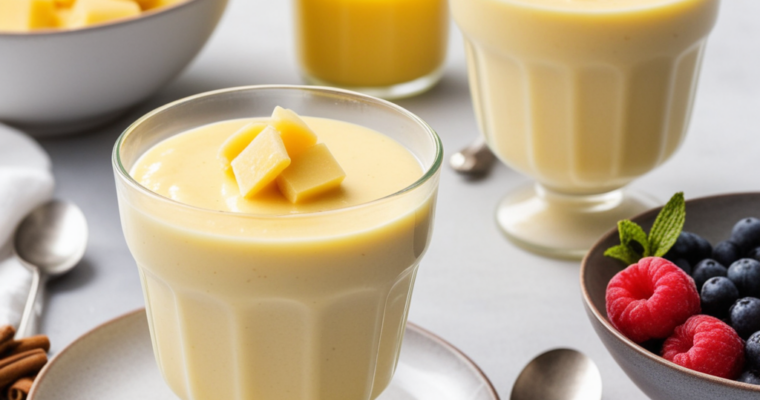
Discover the joy of making your own Easy Homemade Vanilla Pudding, a classic dessert that’s both comforting and versatile. This recipe combines the simplicity of basic pantry ingredients with the rich, creamy flavor of vanilla, resulting in a dessert that’s sure to please. Whether you’re 

No-Bake Chocolate Cream Pie

No-Bake Chocolate Cream Pie

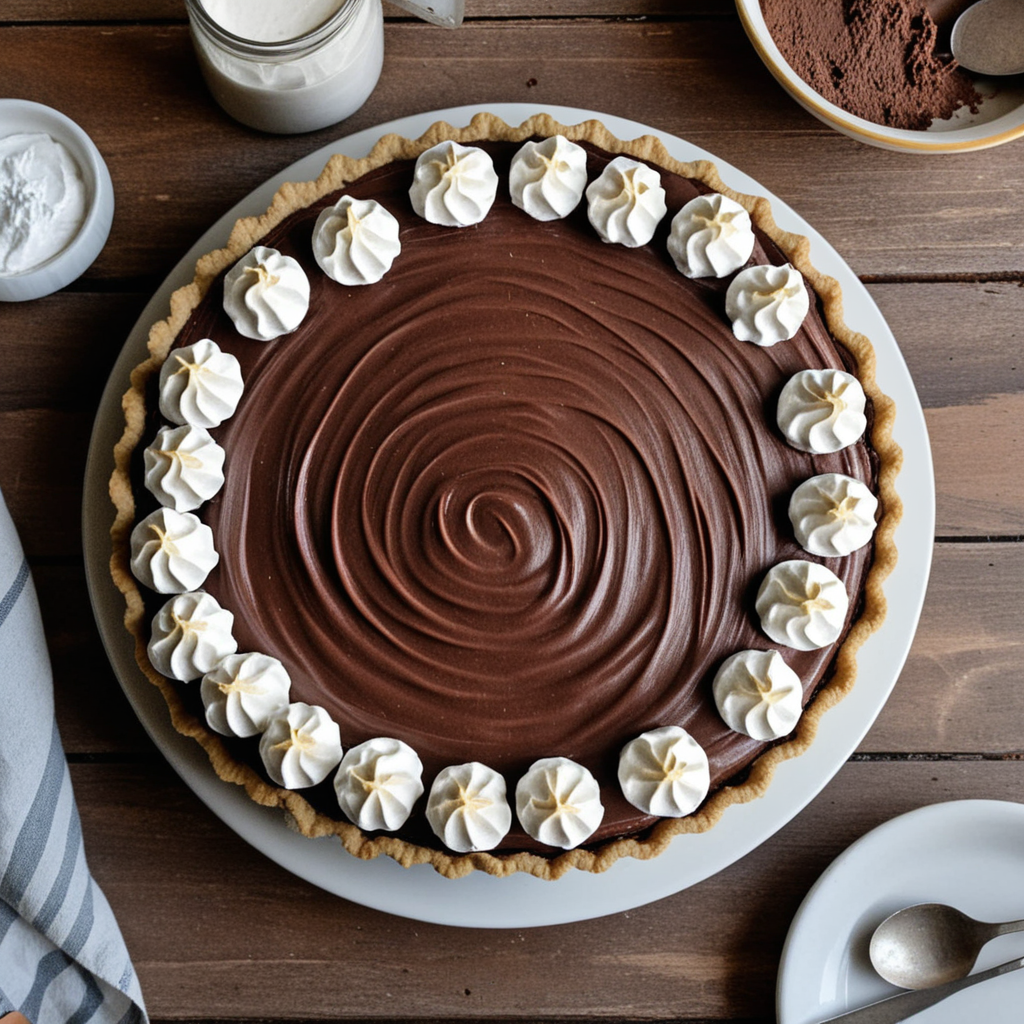
Indulge in this rich and creamy no-bake chocolate cream pie with a buttery graham cracker crust. Perfect for chocolate lovers and easy to make!

The No-Bake Chocolate Cream Pie is the ultimate dessert for chocolate lovers who want to enjoy a decadent treat without spending hours in the kitchen. This pie is incredibly easy to make, requiring just a few simple ingredients and no oven time at all. Whether you’re hosting a dinner party or just craving something sweet, this no-bake pie is sure to impress.

What makes this pie stand out:

Its creamy chocolate filling! it’s rich and smooth with just the right amount of sweetness. The filling is made with a combination of chocolate, cream, and a touch of vanilla extract to enhance the flavor. It’s then poured into a buttery graham cracker crust, creating a perfect balance of textures. The crust adds a delightful crunch that complements the silky filling.

The best part about this recipe is how versatile it is. You can easily customize it to suit your preferences. For instance, if you’re a fan of dark chocolate, you can use bittersweet chocolate instead of milk chocolate. If you want to add a little extra flair, consider topping the pie with whipped cream, chocolate shavings, or even fresh berries. These toppings not only add visual appeal but also enhance the overall flavor of the pie.

Another great aspect of this recipe is that it can be made ahead of time, making it a convenient option for busy schedules. The pie needs to chill in the refrigerator for at least a few hours before serving, which allows the filling to set and the flavors to meld together. This also means you can prepare the pie the day before a gathering, leaving you with more time to focus on other aspects of your event.

For those with dietary restrictions, this pie can be easily adapted to be gluten-free by using gluten-free graham crackers crumbs or crust. Additionally, if you’re looking for a dairy-free option, you can substitute coconut cream for the heavy cream and use a dairy-free chocolate. These simple substitutions ensure that everyone can enjoy this delicious dessert.

Additional Tips:

  • Make the Crust Ahead of Time: To save time, you can prepare the graham cracker crust a day in advance. Just make sure to store it in an airtight container in the refrigerator to keep it fresh.
  • Choose High-Quality Chocolate: The flavor of your pie will depend largely on the quality of the chocolate you use. Opt for high-quality chocolate bars rather than chocolate chips, as they tend to have a smoother texture and richer flavor.
  • Chill the Pie Properly: It’s important to let the pie chill in the refrigerator for at least 4 hours, but overnight is even better. This allows the filling to firm up and makes slicing the pie much easier.
  • Add a Pinch of Salt: A small pinch of salt in the chocolate filling can help to enhance the sweetness and bring out the rich chocolate flavor even more.
  • Use a Springform Pan: For easy removal, consider using a springform pan instead of a regular pie dish. This will allow you to remove the sides of the pan and get perfect slices every time.
  • Experiment with Toppings: While whipped cream and chocolate shavings are classic choices, feel free to get creative with your toppings. Crushed nuts, caramel drizzle, or a sprinkle of sea salt can add a unique twist to your pie.
  • Storage: This pie can be stored in the refrigerator for up to 3 days. Just be sure to cover it with plastic wrap or aluminum foil to prevent it from drying out.
No-Bake-Chocolate-Cream-Pie

No-Bake Chocolate Cream Pie

The No-Bake Chocolate Cream Pie is an easy and delicious dessert that's perfect for any occasion. With its rich chocolate filling and buttery graham cracker crust, it's sure to satisfy your sweet tooth. The versatility of this recipe allows you to customize it to your liking, whether you're making it gluten-free, dairy-free, or adding your favorite toppings. Plus, the no-bake aspect makes it a convenient and stress-free option for any event.
Prep Time 20 minutes
Total Time 4 hours
Course Dessert
Cuisine American
Servings 8 servings
Calories 400 kcal

Equipment

  • Mixing bowl
  • Whisk
  • Saucepan
  • Pie dish or springform pan
  • Spatula
  • Measuring Cups and Spoons

Ingredients
  

  • 1 1/2 cups graham cracker crumbs (use gluten-free graham crackers if needed)
  • 1/2 cup unsalted butter, melted
  • 2 cups heavy cream (or coconut cream for dairy-free)
  • 1 cup semi-sweet chocolate, chopped
  • 1/4 cup sugar
  • 1 teaspoon vanilla extract

Instructions
 

  • Prepare the Crust: In a mixing bowl, combine the graham cracker crumbs and melted butter. Press the mixture into the bottom and up the sides of a pie dish or springform pan. Place in the refrigerator to chill while you prepare the filling.
  • Make the Filling: In a saucepan over medium heat, warm the heavy cream until it just begins to simmer. Remove from heat and add the chopped chocolate, stirring until smooth and fully melted. Stir in the sugar and vanilla extract.
  • Assemble the Pie: Pour the chocolate filling into the prepared crust. Use a spatula to spread it evenly. Place the pie in the refrigerator to chill for at least 4 hours, or until set.
  • Serve: Once the pie is set, remove it from the refrigerator. If using a springform pan, gently remove the sides. Top the pie with whipped cream, chocolate shavings, or fresh berries if desired. Slice and serve chilled.

Notes

Additional Information:

This No-Bake Chocolate Cream Pie is typically considered gluten-free if you use gluten-free graham crackers for the crust. It’s also dairy-free if you substitute coconut cream for the heavy cream and use dairy-free chocolate.
Keyword Chocolate Cream Pie Recipe, Dairy-Free Chocolate Pie (with substitutions), Easy Chocolate Pie Recipe, Gluten-Free Chocolate Pie (if using gluten-free graham crackers), Graham Cracker Crust Pie, No-Bake Chocolate Cream Pie, No-Bake Dessert, No-Bake Recipes, Simple Chocolate Pie
Easy Fruit Puff Pastry Tart

Easy Fruit Puff Pastry Tart

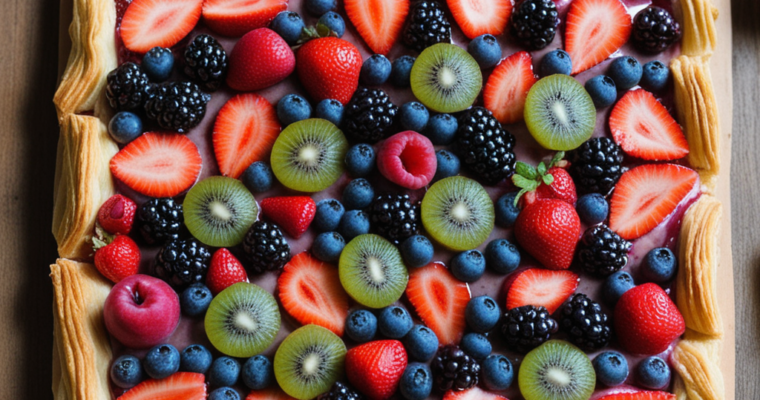
This easy fruit puff pastry tart is a delightful dessert that brings together the light, flaky layers of puff pastry with the natural sweetness of fresh fruit. Whether you’re an experienced baker or just starting out, this recipe is designed to be simple and achievable 

Easy Homemade Fruit Popsicles

Easy Homemade Fruit Popsicles

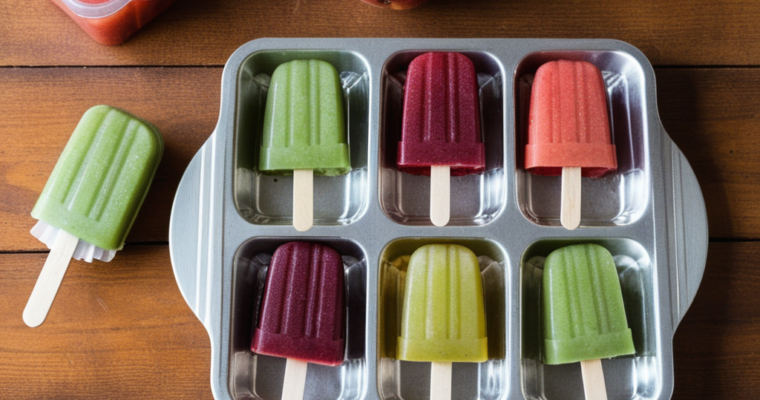
Cool down with these refreshing, easy-to-make fruit popsicles. Bursting with natural flavors, these popsicles are a simple, healthy treat that’s perfect for any warm day. These easy homemade fruit popsicles are the perfect summer treat! Made with fresh fruit and no added sugars, they’re a 

Easy Baked Cinnamon Sugar Doughnuts – Light and Fluffy

Easy Baked Cinnamon Sugar Doughnuts – Light and Fluffy

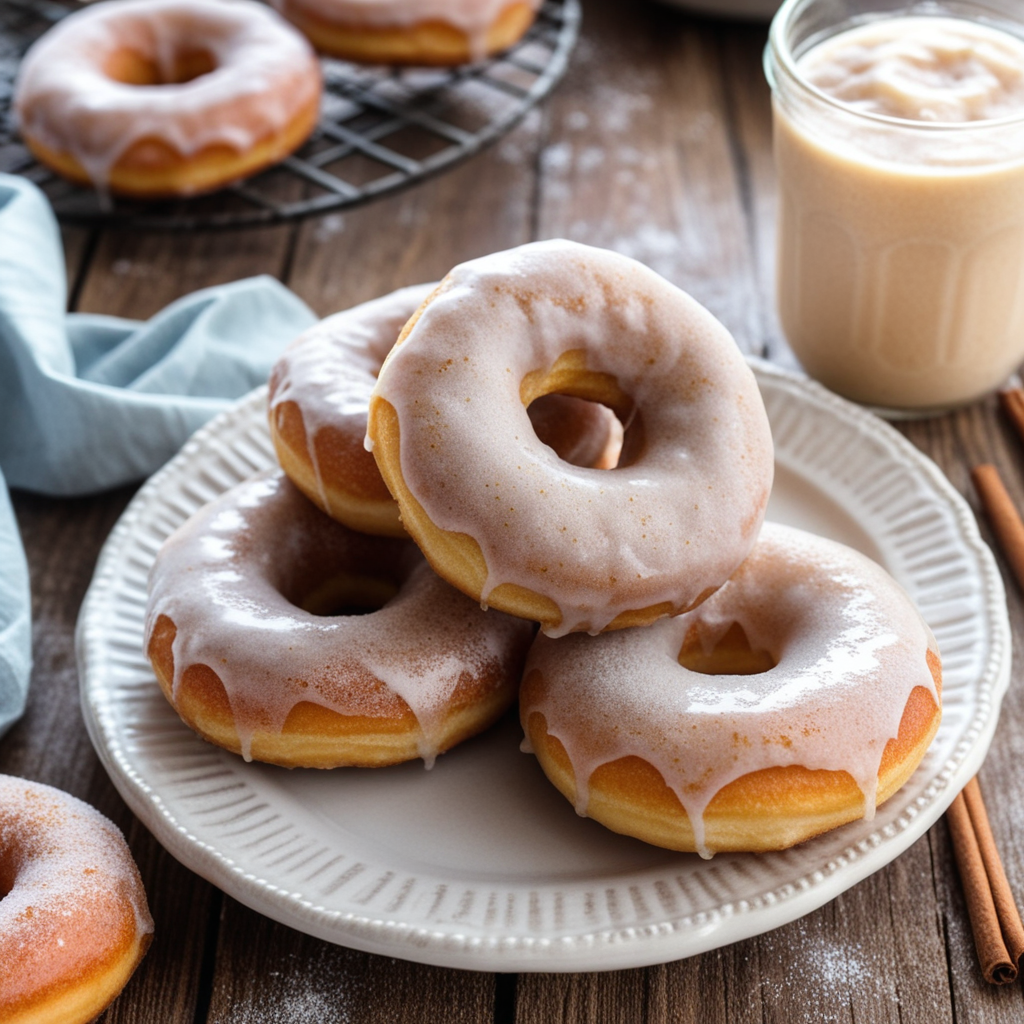
Soft and fluffy baked cinnamon sugar doughnuts with a deliciously spiced coating. Perfect for a quick and easy treat

These baked cinnamon sugar doughnuts are a delightful twist on the classic doughnut, offering all the flavor and texture of traditional fried doughnuts with a fraction of the effort. Made with simple ingredients like flour, sugar, and a hint of cinnamon, these doughnuts are baked to golden perfection in just about 10 minutes. The real magic happens after baking when the warm doughnuts are dipped in melted butter and generously coated in a cinnamon-sugar mixture, giving them that signature sweet and spiced flavor.

Baked doughnuts are not only easier to make, but they also come with the added benefit of being lighter and less greasy than their fried counterparts. Whether you’re new to baking or a seasoned pro, this recipe is straightforward and foolproof, requiring no special equipment beyond a doughnut pan. These doughnuts are perfect for a weekend breakfast, an afternoon snack, or a sweet treat to share with friends and family. With their irresistible cinnamon sugar coating and tender crumb, these baked doughnuts are sure to become a favorite in your household. Plus, they’re customizable—try adding nutmeg, vanilla, or even a chocolate glaze for a fun variation. Ready in under 30 minutes, this recipe is your go-to for an easy and satisfying homemade doughnut experience.

Additional Tips:

  • Use a Doughnut Pan: A doughnut pan is essential for getting that perfect shape. If you don’t have one, you can use a muffin tin, though the shape will be more like mini bundt cakes.
  • Don’t Overmix: Mix the batter just until combined to keep the doughnuts light and fluffy.
  • Customize the Coating: Try adding a pinch of nutmeg or ginger to the cinnamon sugar for extra warmth, or dip the doughnuts in melted chocolate for a decadent touch.
  • Storage: These doughnuts are best enjoyed fresh, but they can be stored in an airtight container at room temperature for up to 2 days.
Easy-Baked-Cinnamon-Sugar-Doughnuts-Light-and-Fluffy

Easy Baked Cinnamon Sugar Doughnuts – Light and Fluffy

These Baked Cinnamon Sugar Doughnuts are light, fluffy, and easy to make. Baked instead of fried, they offer a quick and healthier alternative to traditional doughnuts.
Prep Time 15 minutes
Cook Time 12 minutes
Total Time 27 minutes
Course Dessert
Cuisine American
Servings 12 doughnuts
Calories 180 kcal

Equipment

  • Doughnut Pan For baking the doughnuts in the classic doughnut shape.
  • mixing bowls To combine the wet and dry ingredients.
  • Whisk and Spatula For mixing the batter and ensuring everything is well combined.
  • Measuring Cups and Spoons To measure out all ingredients accurately.
  • Cooling Rack To cool the doughnuts after baking.
  • Pastry Brush For brushing the doughnuts with melted butter before coating with cinnamon sugar.

Ingredients
  

For the Doughnuts:

  • 1 cup All-purpose Flour
  • 1/2 cup Granulated Sugar
  • 1 teaspoon Baking Powder
  • 1/2 teaspoon Ground Cinnamon
  • 1/4 teaspoon Salt
  • 1/2 cup Milk
  • 1 large Egg
  • 1/2 teaspoon Vanilla Extract
  • 2 tablespoons Unsalted Butter, Melted

For the Cinnamon Sugar Coating:

  • 1/4 cup Granulated Sugar
  • 1 teaspoon Ground Cinnamon
  • 2 tablespoons Unsalted Butter, Melted

Instructions
 

  • Preheat the oven to 350°F (175°C). Lightly grease a doughnut pan with non-stick spray or butter.
  • Mix dry ingredients: In a medium bowl, whisk together the flour, sugar, baking powder, cinnamon, and salt.
  • Combine wet ingredients: In a separate bowl, whisk together the milk, egg, vanilla extract, and melted butter.
  • Mix the batter: Pour the wet ingredients into the dry ingredients and stir until just combined. Be careful not to overmix.
  • Fill the doughnut pan: Spoon the batter into the prepared doughnut pan, filling each cavity about two-thirds full.
  • Bake: Bake in the preheated oven for 10-12 minutes, or until the doughnuts are golden and a toothpick inserted into the center comes out clean.
  • Prepare the coating: While the doughnuts are baking, mix the granulated sugar and ground cinnamon together in a small bowl. Melt the butter in a separate bowl.
  • Coat the doughnuts: Once the doughnuts are done, allow them to cool in the pan for 5 minutes before transferring to a cooling rack. Brush each doughnut with melted butter and immediately dip them in the cinnamon sugar mixture, coating all sides.
  • Serve and enjoy: These doughnuts are best served warm, but they’re delicious at room temperature too!
Keyword Baked doughnuts recipe, Best cinnamon sugar baked doughnuts recipe, Cinnamon sugar doughnuts, Easy baked doughnuts with cinnamon sugar coating, Easy doughnut recipe, Homemade baked doughnuts, How to make baked doughnuts at home, Light and fluffy baked doughnuts, Quick cinnamon doughnuts
Quick and Delicious Vanilla Cupcakes with Buttercream Topping

Quick and Delicious Vanilla Cupcakes with Buttercream Topping

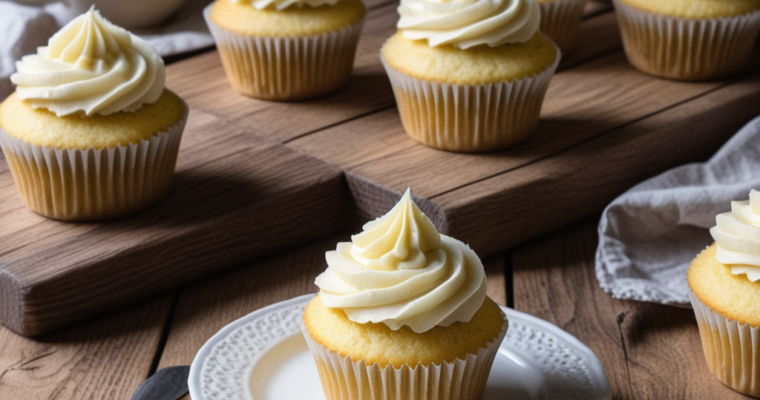
These classic vanilla cupcakes are the epitome of a perfect dessert—light, fluffy, and topped with a rich, creamy buttercream frosting. Whether you’re celebrating a birthday, hosting a party, or simply treating yourself, these cupcakes are guaranteed to be a hit. The secret to their soft 

Ultimate Chewy Chocolate Chip Cookies – Simple and Sweet

Ultimate Chewy Chocolate Chip Cookies – Simple and Sweet

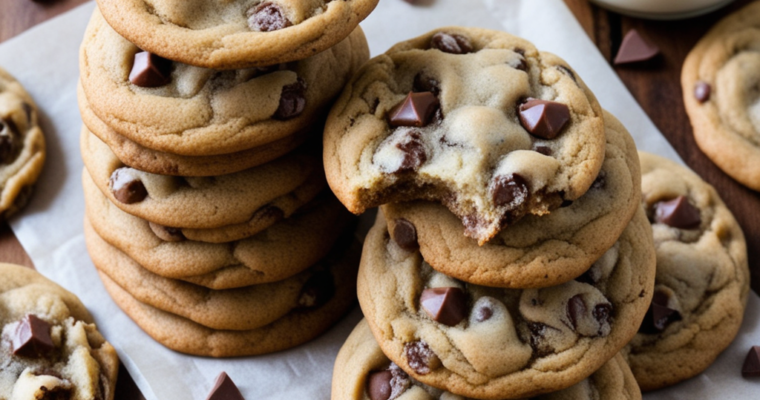
Soft, chewy chocolate chip cookies with a perfect balance of sweetness. Simple to make and a timeless favorite for any occasion. Indulge in the classic goodness of chewy chocolate chip cookies with this easy-to-follow recipe. These cookies are soft, gooey, and packed with rich, chocolatey 

Easy Chocolate Peanut Butter Fudge – A No-Bake Candy Delight

Easy Chocolate Peanut Butter Fudge – A No-Bake Candy Delight

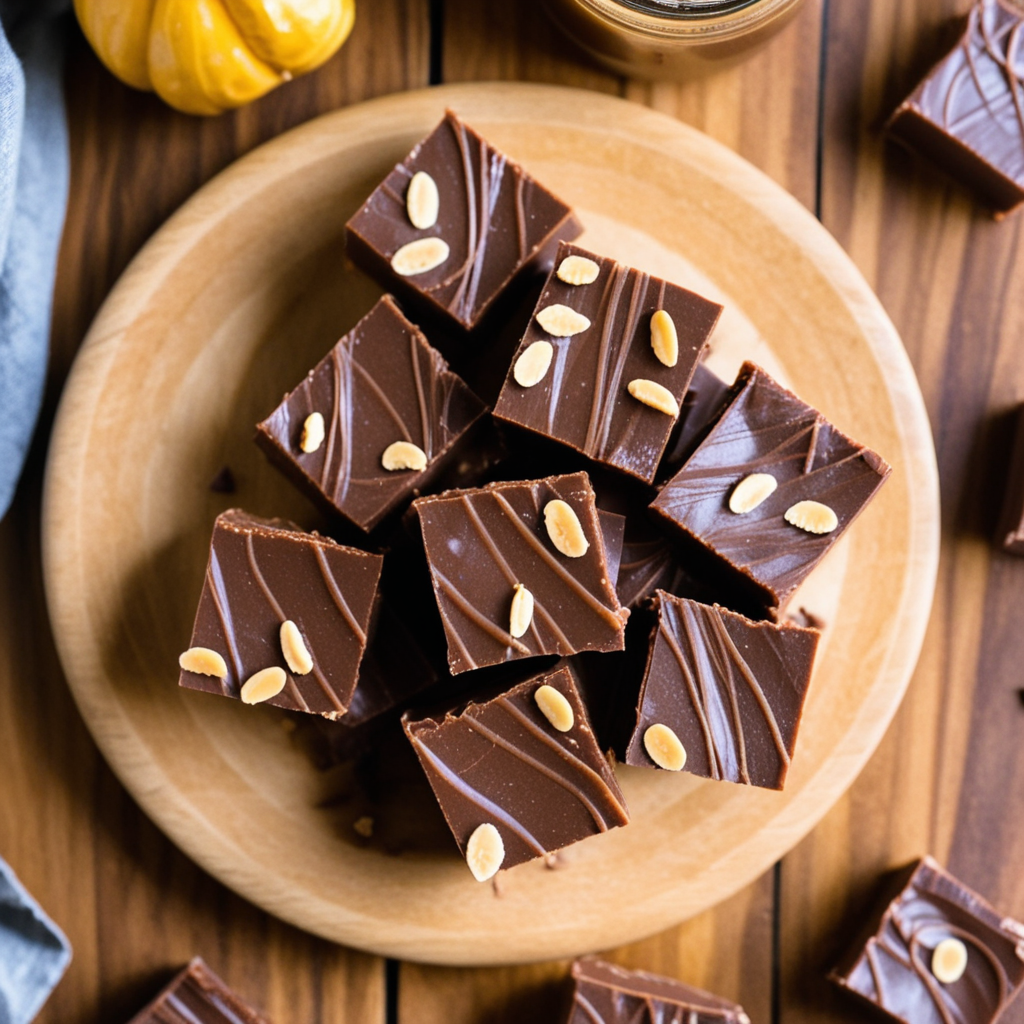
Creamy and rich chocolate peanut butter fudge with just 4 ingredients. This no-bake candy is easy to make and perfect for satisfying your sweet cravings.

Indulge in this easy chocolate peanut butter fudge that’s rich, creamy, and irresistibly sweet. With only 4 simple ingredients, this no-bake candy is perfect for beginners and anyone looking for a quick, sweet treat. Ideal for holidays, gift-giving, or just satisfying that sweet tooth, this fudge is sure to become a favorite.

Additional Tips:

  • Swirl It: For a marbled effect, melt a little extra chocolate and swirl it into the top of the fudge before it sets.
  • Add Texture: Sprinkle chopped nuts, crushed pretzels, or mini marshmallows on top before the fudge sets for added texture and flavor.
  • Storage: Store in an airtight container at room temperature for up to a week or in the refrigerator for up to two weeks.
  • Microwave Option: You can also melt the chocolate and peanut butter in the microwave in 30-second intervals, stirring in between.
Easy-Chocolate-Peanut-Butter-Fudge-A-No-Bake-Candy-Delight

Easy Chocolate Peanut Butter Fudge – A No-Bake Candy Delight

This easy chocolate peanut butter fudge is a no-bake treat that’s rich, creamy, and incredibly satisfying. Perfect for a quick dessert or homemade gift, this fudge is sure to delight.
Prep Time 10 minutes
Total Time 2 minutes
Course Dessert
Cuisine American
Servings 16 squares
Calories 180 kcal

Equipment

  • 8×8-Inch Baking Pan For setting the fudge.
  • mixing bowls To melt and mix the ingredients.
  • Spatula For spreading the fudge evenly in the pan.
  • parchment paper To line the baking pan for easy removal of the fudge.
  • Microwave or Double Boiler For melting the chocolate and peanut butter together.

Ingredients
  

  • 2 cups Semi-sweet Chocolate Chips
  • 1 cup Creamy Peanut Butter
  • 1 can (14oz) Sweetened Condensed Milk
  • 1 teaspoon Vanilla Extract

Instructions
 

  • Line the baking pan: Grease an 8×8-inch baking pan and line it with parchment paper, leaving some overhang on the sides for easy removal.
  • Melt the chocolate and peanut butter: In a large mixing bowl, combine the chocolate chips and peanut butter. Melt together in a double boiler or in the microwave in 30-second intervals, stirring in between until smooth.
  • Add condensed milk and vanilla: Stir in the sweetened condensed milk and vanilla extract until fully combined and smooth.
  • Pour and spread: Pour the mixture into the prepared baking pan, spreading it evenly with a spatula.
  • Chill: Refrigerate the fudge for at least 2 hours, or until it’s fully set.
  • Cut and serve: Once set, lift the fudge out of the pan using the parchment paper overhang. Cut into squares and enjoy!
  • Store: Keep any leftovers in an airtight container at room temperature or in the refrigerator.
Keyword chocolate peanut butter fudge recipe, easy chocolate peanut butter fudge with 4 ingredients, easy fudge recipe, homemade fudge, how to make creamy peanut butter fudge, no-bake candy recipe, peanut butter chocolate candy, quick no-bake fudge recipe for beginners, simple candy recipe